note
VeloxDB is still in beta and APIs are subject to change. We are in the process of completing the documentation, so some sections may be incomplete or empty at this time.
Get Started
VeloxDB is easy to start with—no separate downloads, containers, or manual setup required. All you need is a working .NET 9.0+ environment. The server comes bundled via NuGet. This guide will walk you through building a minimal VeloxDB application that stores text messages in the database.
The guide is also available in video format.
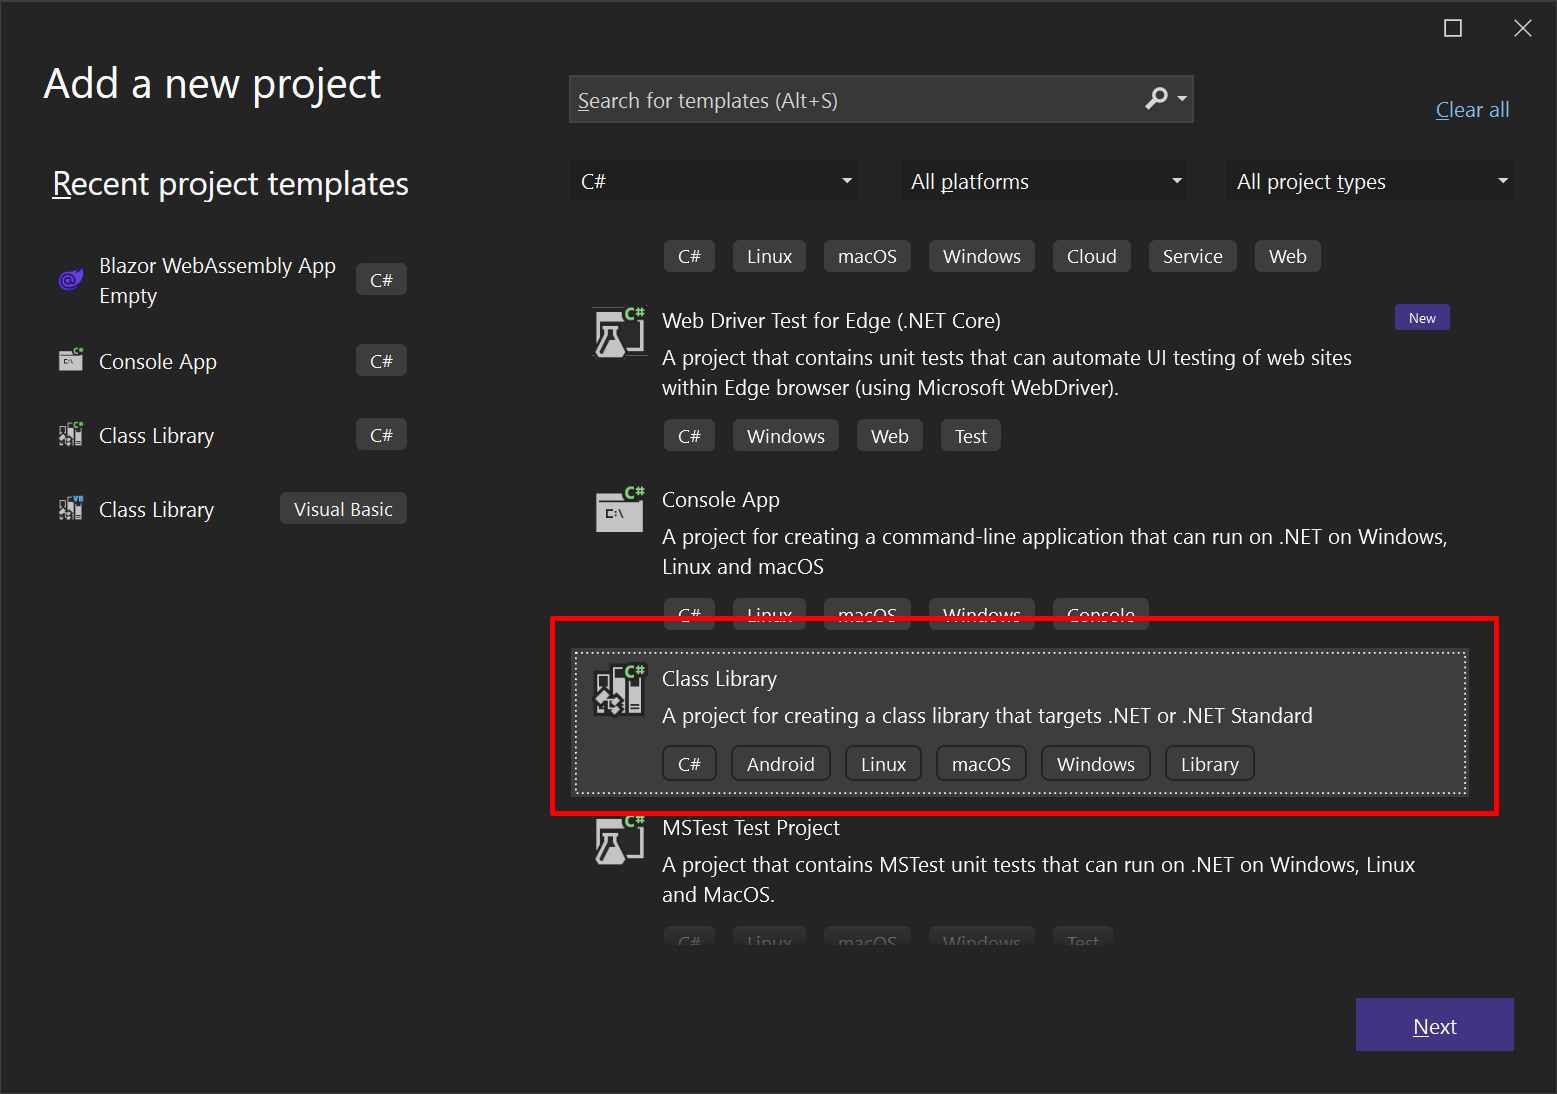
Step 1 - Create new class library
Create a new class library project targeting .NET 9.0 (or later) for the server component:
dotnet new classlib -n Server -f net9.0
This library will contain our database model and operations.
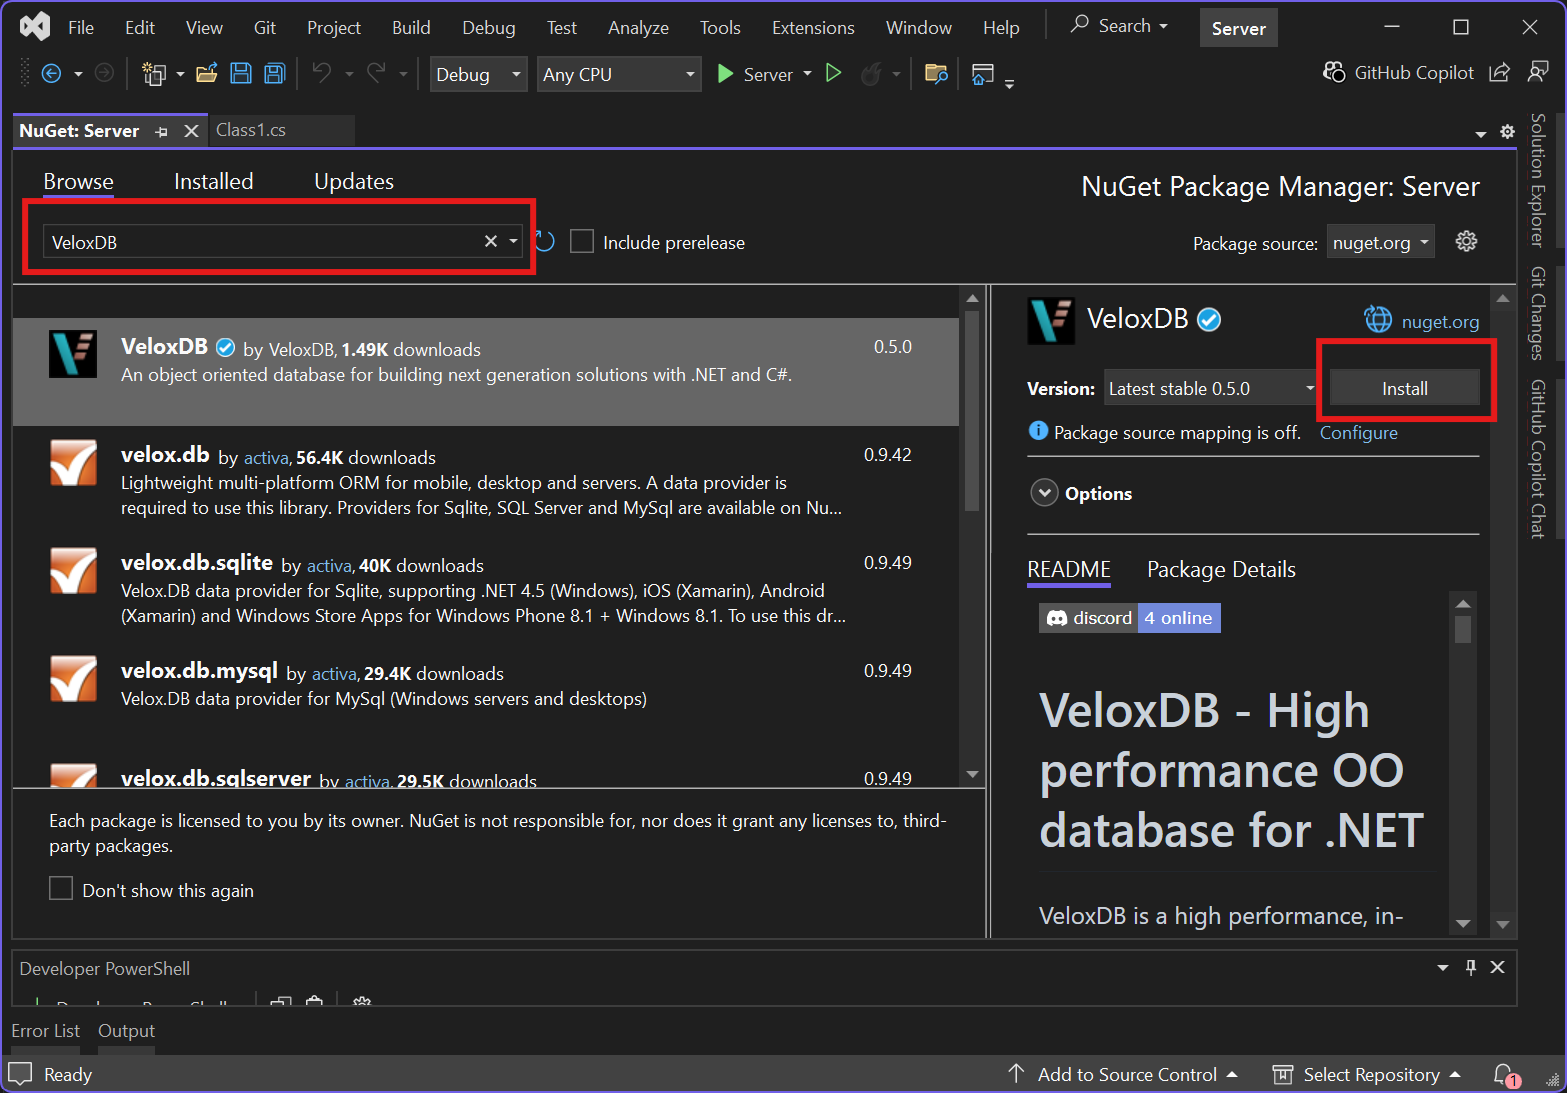
Step 2 - Add a NuGet reference
Add the VeloxDB NuGet package to the server project:
dotnet add Server package VeloxDB
The VeloxDB server is included in the NuGet package, eliminating the need for separate installation. Your project is now executable. Running it will start the VeloxDB server and deploy your class library into it (which contains no model classes at this point).
Step 3 - Define a model
Create a new C# class file named Message.cs in the Server project. This class will represent a text message.
using VeloxDB.ObjectInterface;

namespace Server;

[DatabaseClass]
public abstract class Message : DatabaseObject
{
    [DatabaseProperty]
    public abstract string Text { get; set; }
}
In this model:
[DatabaseClass]attribute marks the class as a database entity.Messageinherits fromDatabaseObject, the base class for all persistent objects in VeloxDB.[DatabaseProperty]attribute marksTextas a persistent property of theMessageclass.
Step 4 - Create database operations
Now, let's define the operations that can be performed on our database. Create a new C# class file named MessageAPI.cs in the Server project. This class will expose methods to add and retrieve messages.
using VeloxDB.ObjectInterface;
using VeloxDB.Protocol;

namespace Server;

[DbAPI(Name = "MessageAPI")]
public class MessageAPI
{
    [DbAPIOperation(OperationType = DbAPIOperationType.Read)]
    public string[] GetAllMessages(ObjectModel om)
    {
        return om.GetAllObjects<Message>().Select(m => m.Text).ToArray();
    }

    [DbAPIOperation]
    public void AddMessage(ObjectModel om, string text)
    {
        Message message = om.CreateObject<Message>();
        message.Text = text;
    }
}
Here:
[DbAPI(Name = "MessageAPI")]marks this class as a database API, making its methods callable from a client.ObjectModel omis a parameter provided by VeloxDB, giving access to the database.GetAllMessagesretrieves allMessageobjects and returns their text.DbAPIOperationType.Readindicates it's a read-only operation.AddMessagecreates a newMessageobject, sets its text, and persists it.
Step 5 - Create new console application
Create a console application that will act as our client:
dotnet new console -n Client -f net9.0
Step 6 - Add client reference and define API interface
Add the VeloxDB.Protocol package to the client project:
dotnet add Client package VeloxDB.Protocol
Create an interface file that matches our server API:
using VeloxDB.Client;
using VeloxDB.Protocol;

[DbAPI(Name = "MessageAPI")]
public interface IMessageAPI
{
    [DbAPIOperation(OperationType = DbAPIOperationType.Read)]
    DatabaseTask<string[]> GetAllMessages();

    [DbAPIOperation]
    DatabaseTask AddMessage(string text);
}
Step 7 - Establish a connection and call database operations
Update the Program.cs file in the Client project:
using VeloxDB.Client;

// Create connection parameters
ConnectionStringParams csp = new ConnectionStringParams();
csp.AddAddress("localhost:7568");

// Get API instance
IMessageAPI messageAPI = ConnectionFactory.Get<IMessageAPI>(csp.GenerateConnectionString());

// Add a message
await messageAPI.AddMessage("Hello, world!");

// Retrieve and display all messages
foreach (var message in await messageAPI.GetAllMessages())
{
    Console.WriteLine(message);
}
Running the application
To run the server, execute your class library project (it self-hosts the VeloxDB server). Then run the client to interact with it.
dotnet run --project Server
And in another terminal run
dotnet run --project Client
Each time the client connects, it adds a new "Hello, world!" message to the database, then retrieves and prints all stored messages. As a result, you'll see one additional "Hello, world!" message with each run.
Where to Go from Here?
Congratulations on building your first VeloxDB application! Here are some suggested next steps to continue your journey:
- Check Out Our Full-Stack Web Application: Build a proper full-stack web app using only C#! Our Blazor WASM, ASP.NET, and VeloxDB example shows you how to create a seamless full-stack application with C# from frontend to database.
- Learn More In-Depth: To master VeloxDB’s features and capabilities, dive into VeloxDB: The Definitive Guide.
- Join Our Community: Connect with fellow VeloxDB developers on our Discord server to share ideas, ask questions, and get support.
- Share Your Feedback: We value your input! Drop your thoughts or start a discussion on our GitHub Discussions page or via Discord.